Pages

Thursday, March 30, 2006

I decided to run a test on my hot cross bun recipe today....
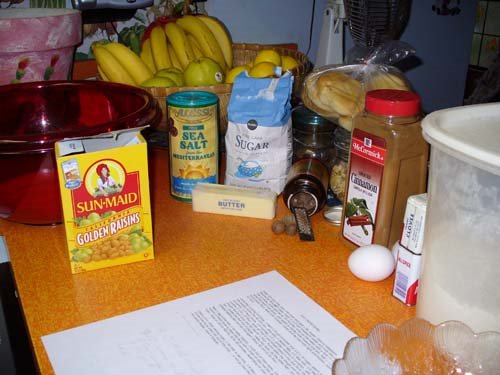
Easter is coming...here are all the ingredients.


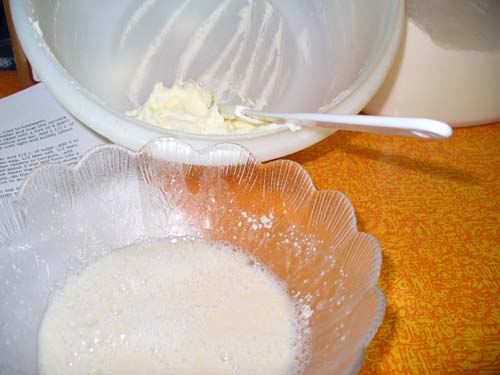
Butter creamed and yeast whipped...


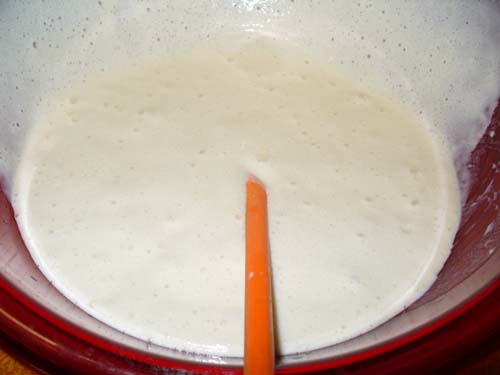
yeast and flour all bubbly...


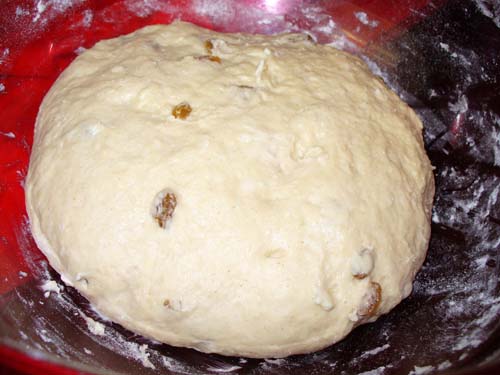
Dough all made into a smoothe ball....


All brushed with egg white and crosses cut....
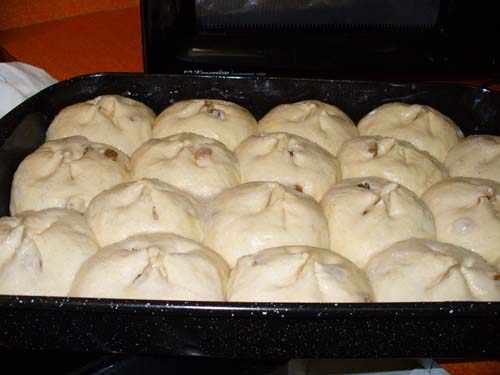


All baked and drizzeled lightly and I've eaten two already...
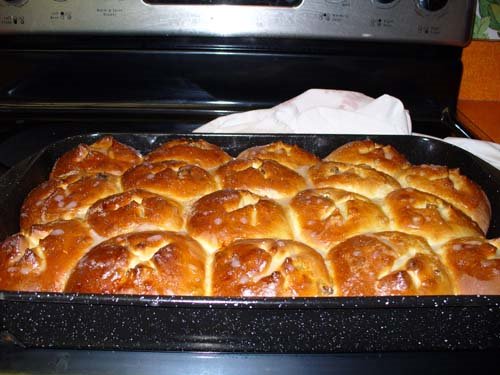
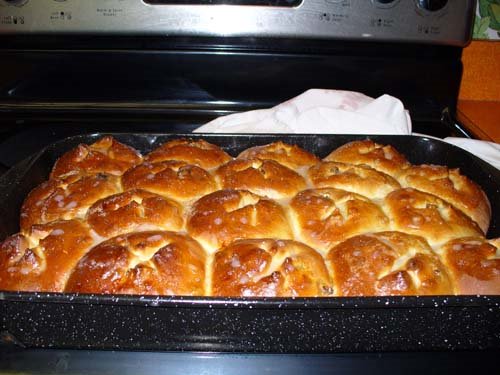


Here is the recipe...

HOT CROSS BUNS
Scald 3/4 cup milk, pour into bowl and add 1 tbl. sugar, Cool to lukewarm. Meanwhile dissolve 1 teas. sugar in 1/2 cup lukewarm water and over this sprinkle 1pkg. of yeast, cover and let sit 10 minutes. whip up the yeast with a fork )..add yeast to cooled milk mixture and stir. Add 1 1/2 c. of all purpose flour, beat until smooth. Cover and let rise until light and bubbly (about 45 min)while that is doing it's thing...cream 1/4 cup of butter and 1/2 c. of sugar..add it to the bubbly (when the 45 min are up)...also add..1 beaten egg, 1/2 teas salt, 1/2 teas. cinnamon, dash of cloves, dasg if all spice, 1/4 nutmeg, 1/2 c. golden raisens or currants...add another 2 1/4 c. of flour...work all that in and knead about 5 min and form into a smooth ball and cover and let rise for 1 hour. Punch down the dough and divide in half....divide one half into 9 pieces...make into buns..do the other half ..arrange in greased baking pan and let rise again about 45 min to an hour.Beat 1 egg white with 1 tbl water slightly...brush tops of risen buns...use kitchen sissors or sharp knife to slash the buns with a cross on top (not too deep now)...bake at 350 to 400 for 20 to 30 minutes, depending on your oven. Glaze:1/4 c. sifted icing sugar, 1 tbl milk , 1/4 teas vanilla...mix and drizzel over buns while hot out of the oven. ...it will go into the crosses...this is a very good recipe...save it forever..
__________________

Tuesday, March 28, 2006

I found lots of neat little blocks today for my scrap quilts. I forgot I have EQ, Dear Jane, Block Base, and three Shirley Libby paper piecing programs. And you can actually make any block smaller but I'm trying to stick to the one patch ones. I found a good thimble, a spool (I had called that a cotton reel yesterday), a flower pot, a triangle, a hexagon, small railway blocks from 1830 (I think that's what the pattern said or 1930?) and a 4 ins. Apple core. I am happy. Now I can add to my scrap quilts or start over with the new sizes. I like the small size.

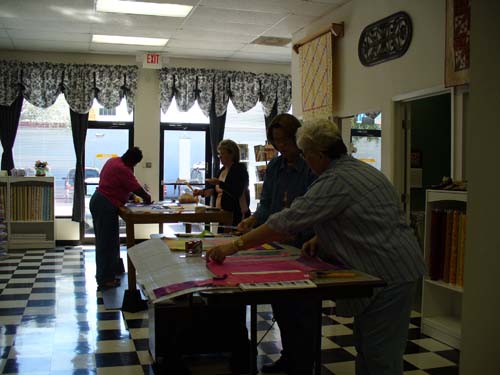
Today was the last class for the Butterfly I was teaching at a new quilt shop...


The students were busily cutting and sewing. They finished a 1/4 of the butterfly today and will finish the rest at home..Notice the floor? We all seem to have it in one room or the other don't we?

Monday, March 27, 2006

Aha, I finally got a good camera like Mrs. Mel lol. Sunday was a day to go drifting. In Belize, where I was raised we call a day that you go out all day and accomplish absolutely nothing, "drifting". I spent all my JoAnn's coupons and bought the wrong roc-lon muslin. As I drifted through the store very slowly picking up this and laying down that...trying to see if I could find something I didn't have. I did pick up some more beads and fixings as I'm going to make a few bead things sooner or later. I then went to Walmart and just happened to go by the camera department and low and behold they had a sale. A panasonic, 5 megapixels Lumix, 6x zoom..all for 167.00 or so. After I bought the camera and the card and tax, it came to about 206.00. Now that was a deal. Already I'm in love with my new toy.


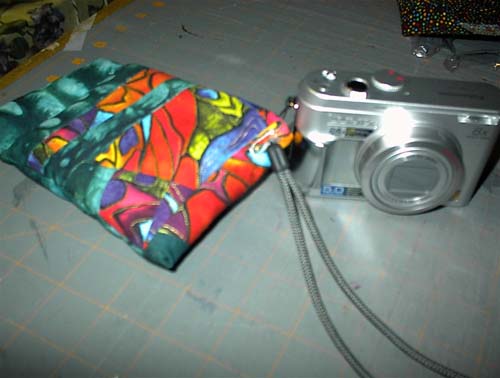
Now I took a pic of the new cam with my old cam lol. I made a little bag for it immediately to protect the large LCD screen in the back. This was a scrap left from my butterfly quilt. I stuck in a piece of batting between the layers and sewed it up...made a hole in the side and pulled the strap through.

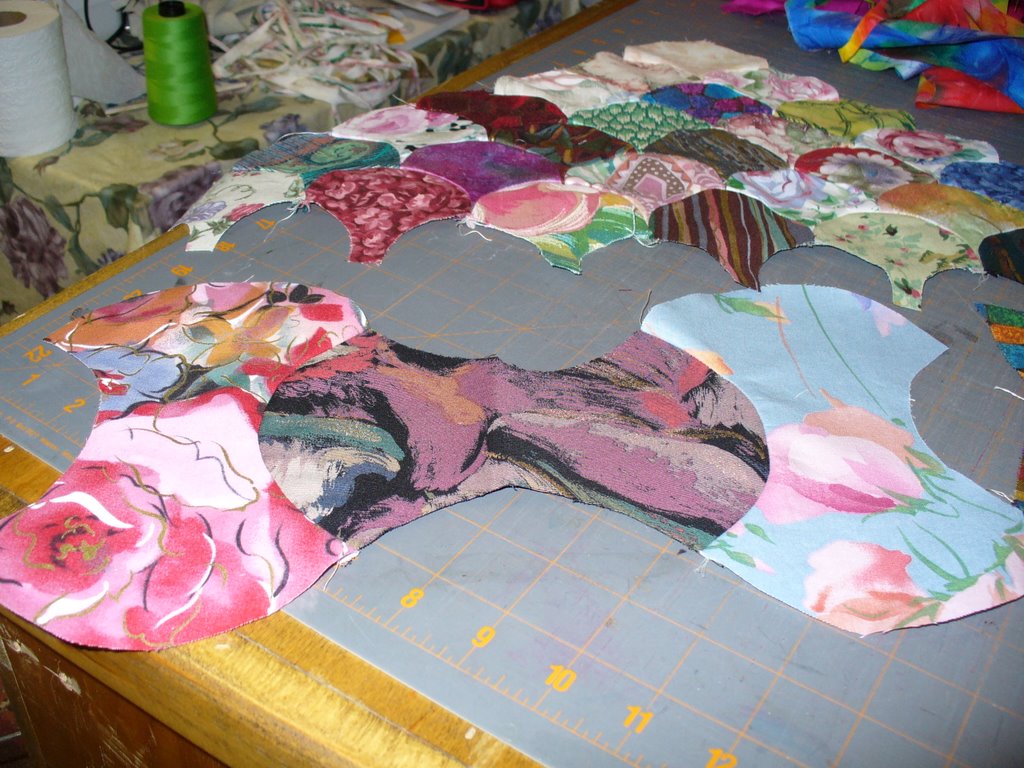
I checked out a few blogs and noticed that a few ladies are also doing scrap quilts with their tiny scraps. I call it modular quilting because the blocks are not really blocks but a single piece like: the Timble, apple core, clam shell and the octagon. Most of these are sewed by hand because they are small pieces and most are curvy. They are always a challenge to me to find a way to sew them on the machine. So far I've started a timble, an apple core and a clam shell...somewhere there is a piece I started with little tiny cotten reels, made in a very peculiar way. I will find it and post it and continue to work on these as I have quite a collection of scraps now. Oh all are done on the machine. If anybody has another scrap or modular pattern and would like to exchange with me, please do.

Pic with the new zoom camera of the scrap quilts..they are still in the small stages... this is the thimble..


Apple core, it's kinda a big. I think I would like it smaller...you can see the clam shell in the background. I would like to be abel to use all my scraps as I make them. Just by adding them anywhich way to anyone of the scrap quilts and them have 3 or 4 quilts finished at one time all out of scraps. That would be fun.

Saturday, March 25, 2006

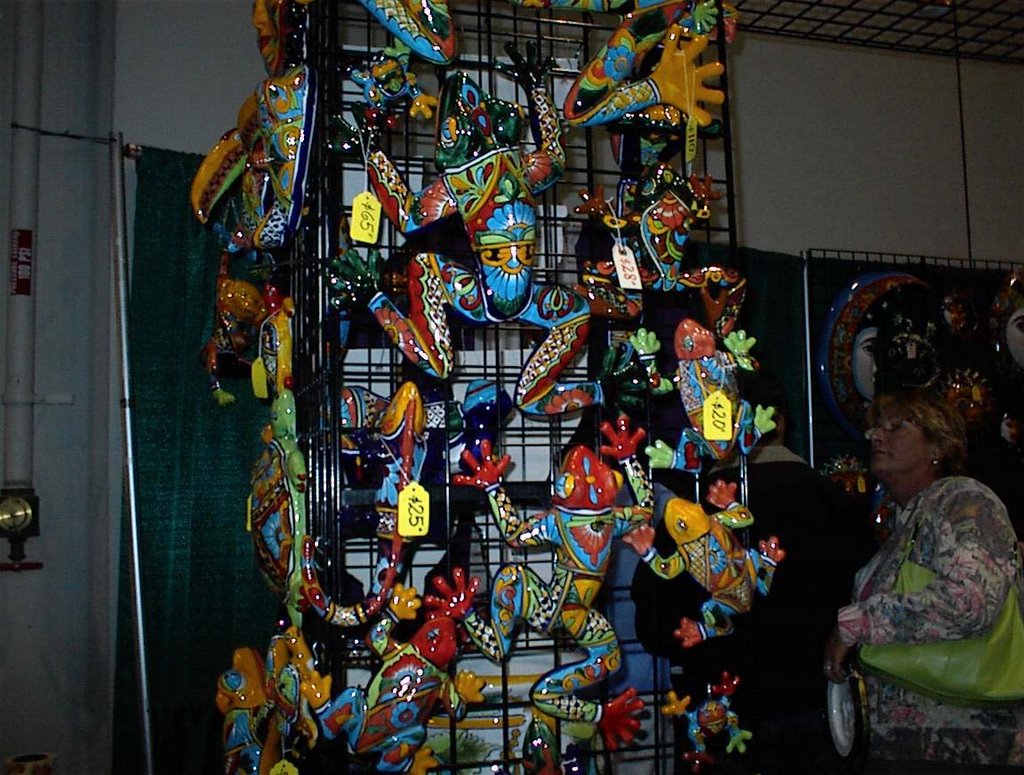
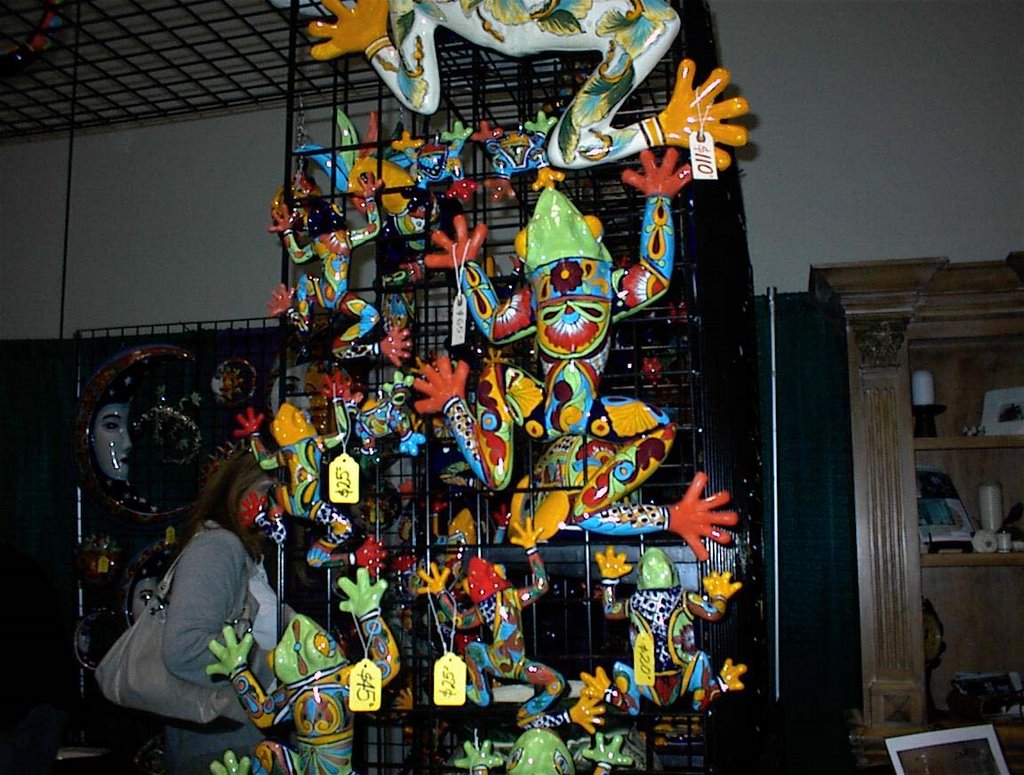
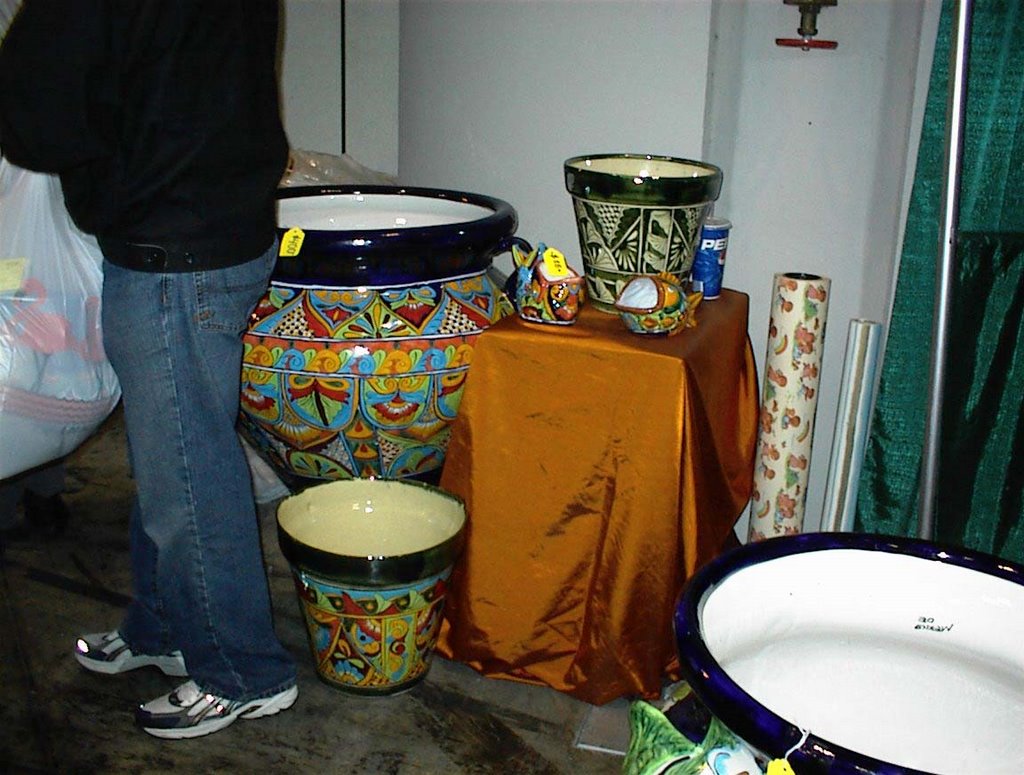
Hubby and I went to the home and garden show today. I was getting a bit bored with all the bath tubs, cleaning supplies, windows etc...You know the stuff. Then I spotted this booth with Mexican pottery in the talavera style ( looks like a rough form of Rosemaling to me)...But pretty anyway. I took some pic of the booth. I think they were the only one's selling anything lol..


This is the other side..


This is inside the booth...


Another inside...


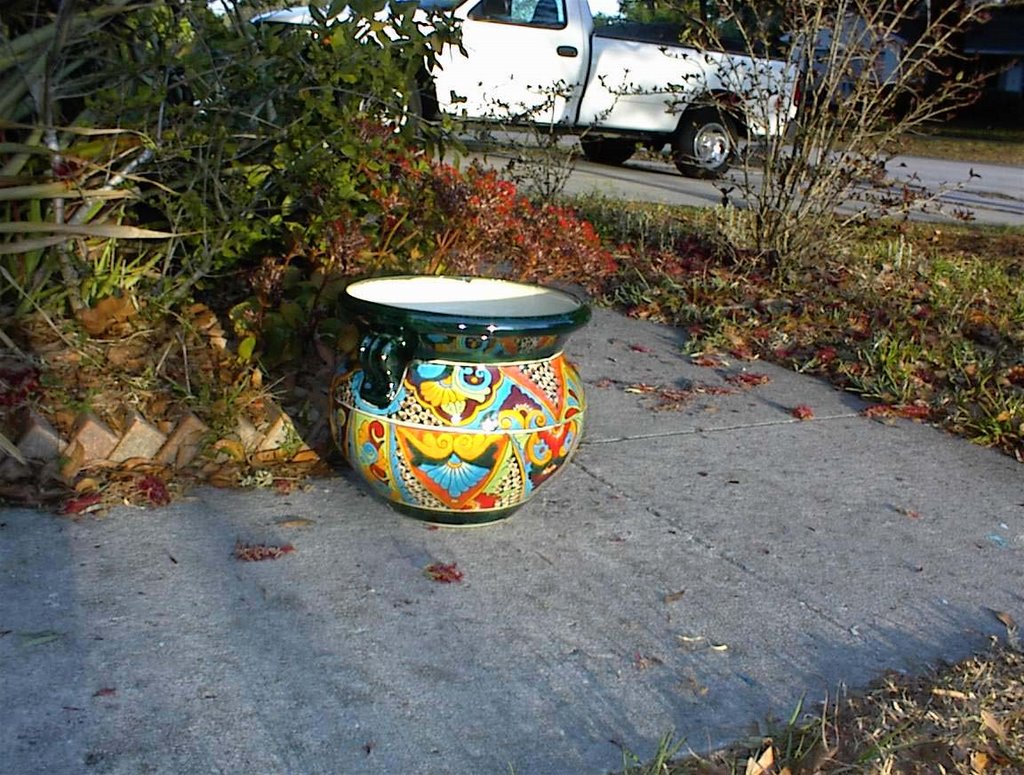
Hubby bought me this pot..


A close-up of pot...


Well is really was a fun day.

Friday, March 24, 2006

Oh oh, I went Joann's yesterday (new super store) and used my coupon. Low and behold I found a book by Jenny Bayer (I never really cottened to her style lol). Anyway, this book got my attention. It's called, "Quilting by Hand". Of course I don't do that! lol. I will sew anything she has by machine. Well this quilt of my obession is called, "Day Lilies". Nice and complicated, just the way I like em. I need constant stimulation you know? Today I will do a patch or two and will post pics. In the meantime let me entertain you again with Cinco De Mayo from the beginning. I had posted the finished quilt some time ago, but never the start. Here is the beginning, cutting all the pattern pieces apart for one block.


Choosing the fabrics and putting it together.


Here is another block.


Here is just a strip section...

Ok got to go sew...more tomorrow or later...

Sunday, March 19, 2006

Mrs Mel said, "I love this design! So do you have a British accent?" I wish, hahahahha. I was born in Germany, raised up in Belize, Central America and moved to the States when I was around 25. Both my sisters married those handsome Englishmen and decided to move to England. They speak perfect english lol. People can't figure my accent out. They always ask me what it is. I never knew I had one hahhaha. I guess I speak Heinz. What with the German, English, Spanish and creole all mixed in.
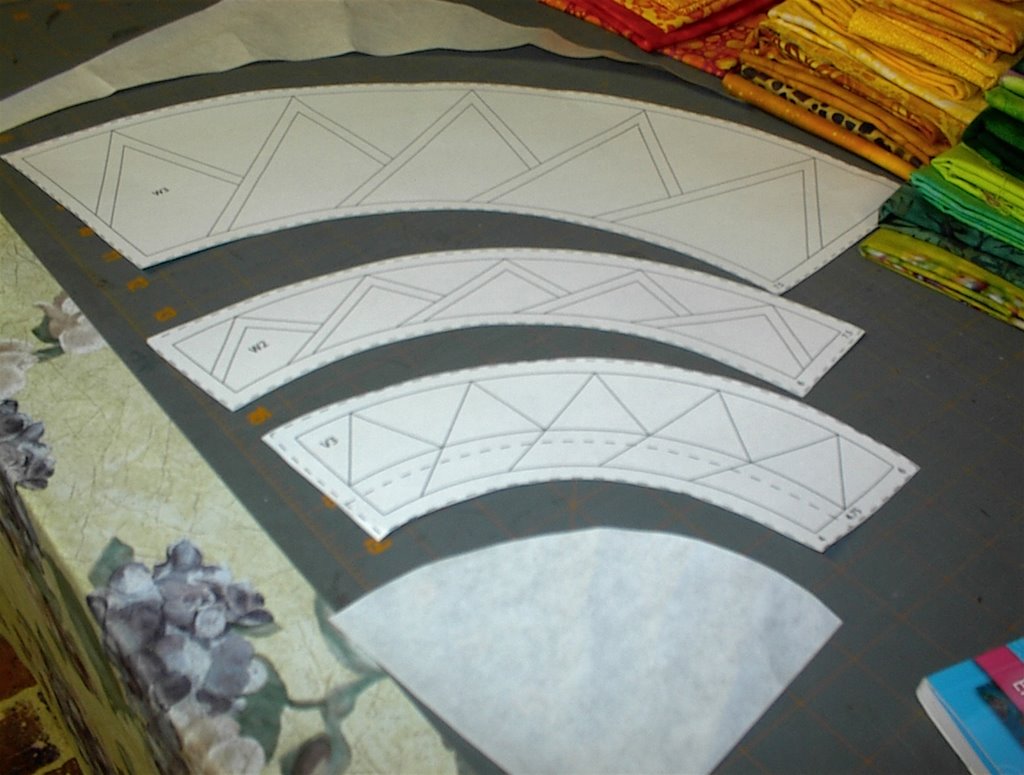
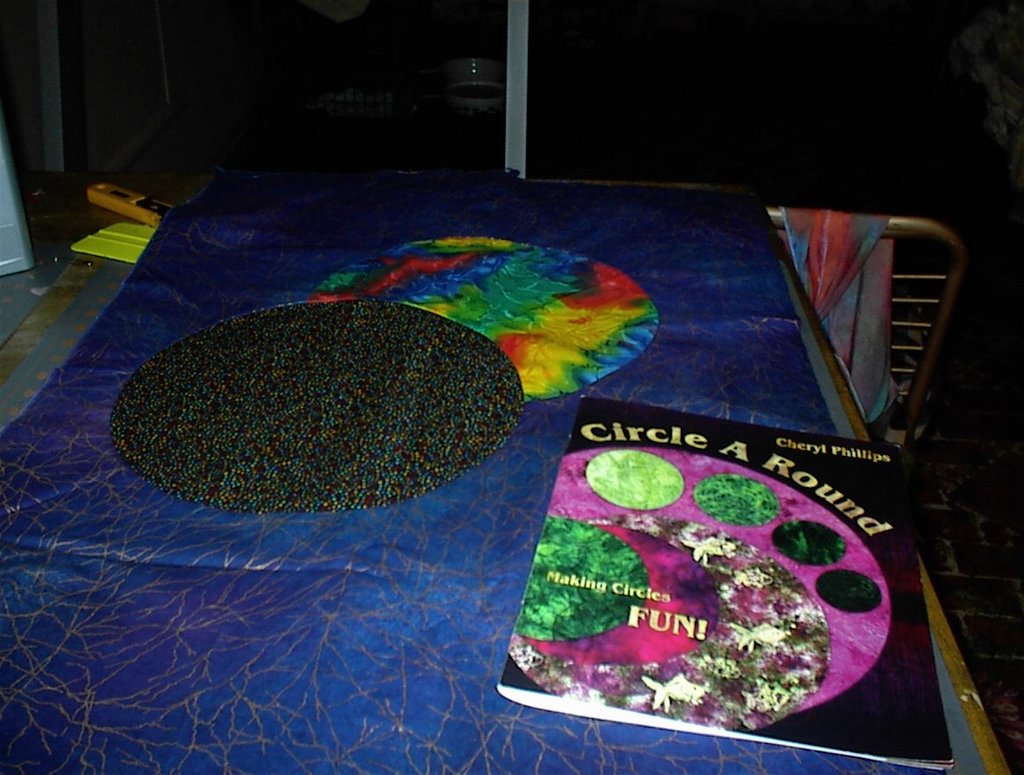
The quilt is from from the book, "Quilts without Corners," by Cheryl Phillips. I love the butterfly and this is my second one. I'm playing with her "Circle A Round" now. Here is a pic of the book and a couple circles.


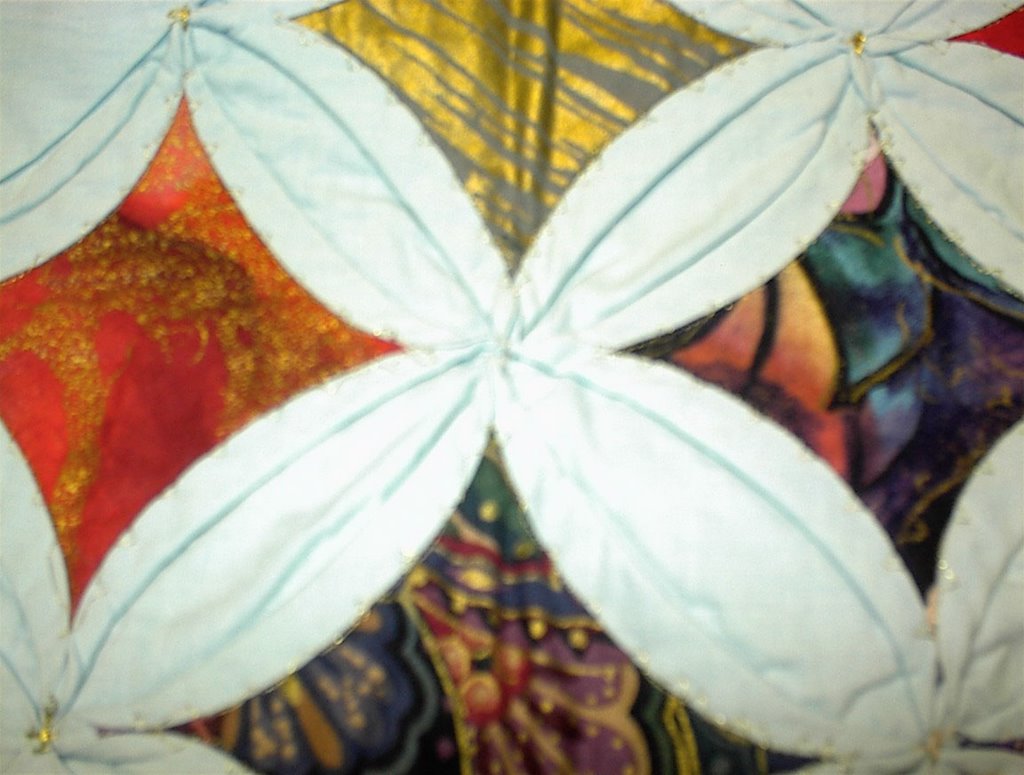
Here is the back. The circles go in so neat. I don't know what I'm going to end up doing with the rest of the piece.


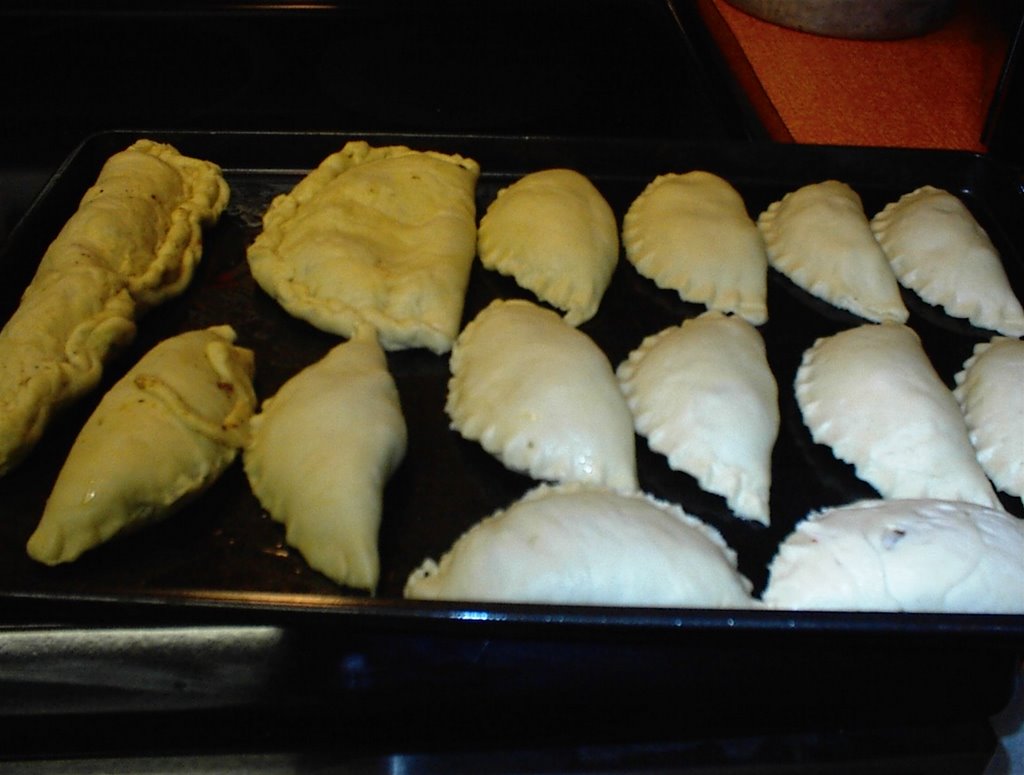
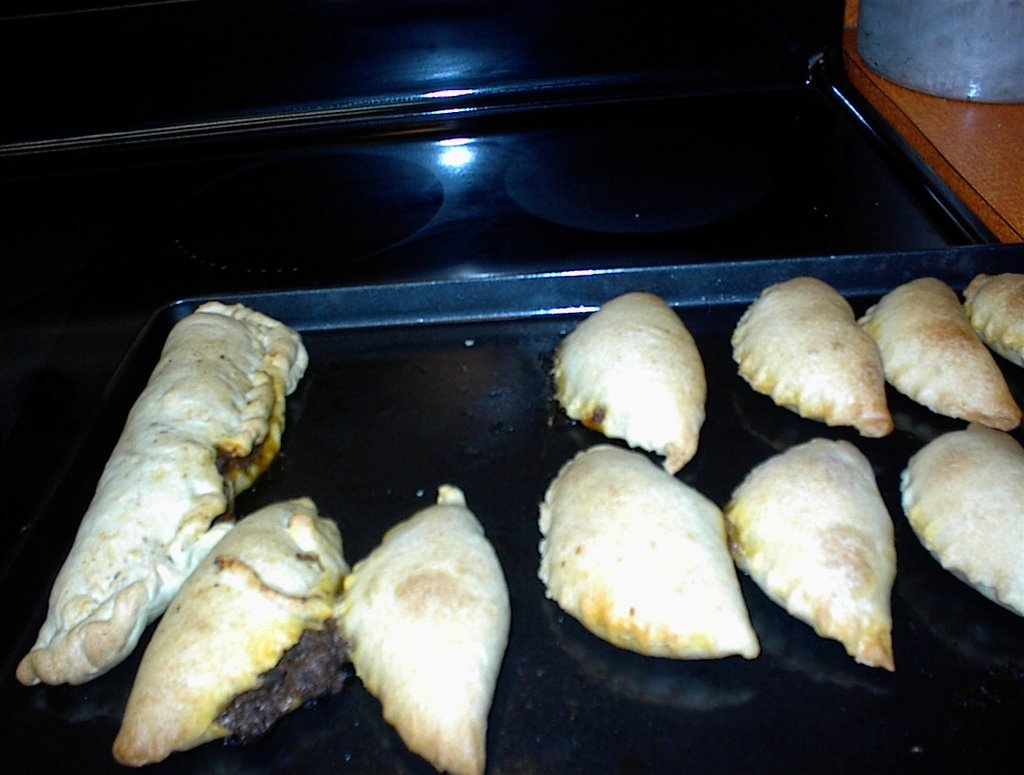
I made some meat pies to day...well that's what we called them in Belize. The two odd ones are the best. All left over dough and the rest of the meat. Just going to put them in the oven.


I went to get my camera to take a pic of the baked product and one was gone hahahha...and it was one of the odd ones too....


I miss my sissy already. I don't think I'll ever see her again. She is 72 now and the trip is very hard on her. I think it's eight hours and then they have to drive another 3 or 4 hours to get home once they land. I called her already and she got there just fine and had slept 5 hours already lol. she is so brave to make that trip. I made it once so I know how it is when you don't have first class.

I have some info for those of you who have relatives living abroad. It doesn't cost me a nickle to talk to my sis. I have a program call "voibstunt". All calls to England, Australia and a bunch more are free. The require a 10.00 deposit but it always stays there because most calls are free. They give you a list of the free ones.

http://www.voipstunt.com/en/splashvoipin.html

Friday, March 17, 2006

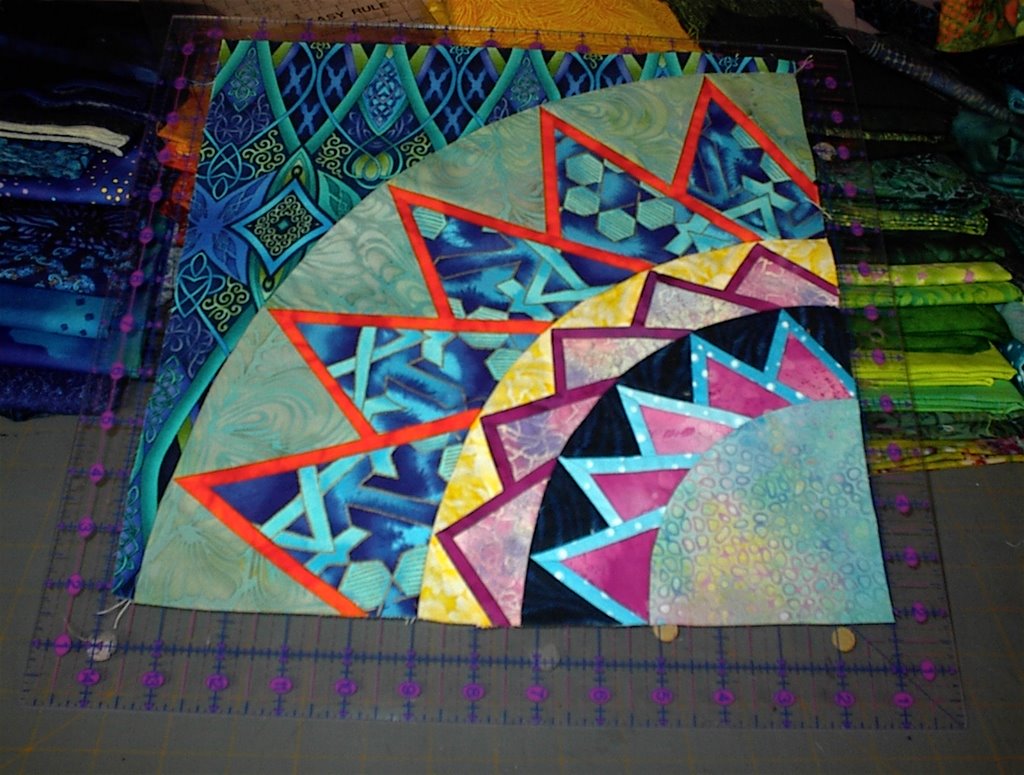
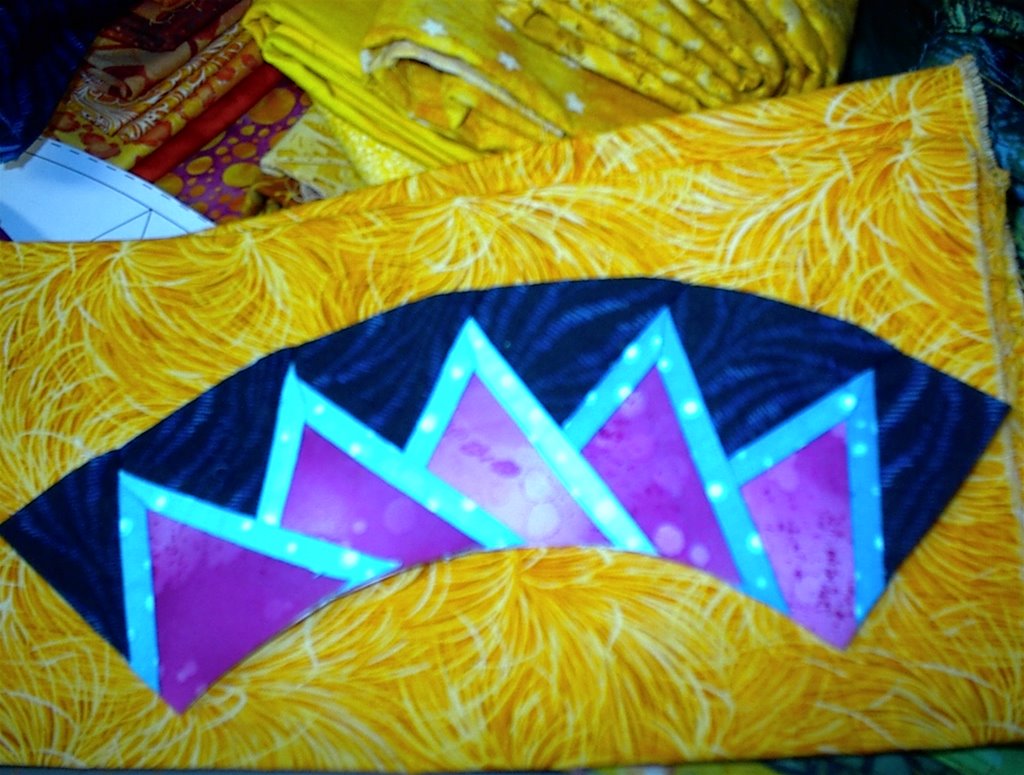
Wow, it's been a while since I posted. I have been so busy. My sister and niece from England were here for two weeks and it was wonderful. I dont' get to see them that often so this was a nice treat. We did sea-world, animal kingdom and the beach and little things in-between. Lots of great cooking (english triffle), movies, and chatting. I worked on a Butterfly medallion quilt in-between all the visiting. A new quilt store opened up and asked me to teach so I'll give it a short run lol...here is the quilt, it just lacks the binding...


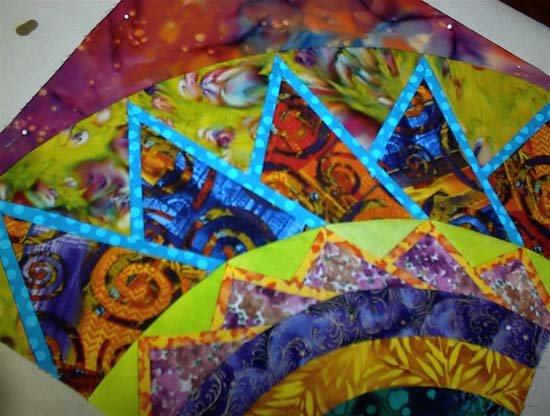
I really need a good camera like Mrs. Mel. This is not too good a pic. Well here is a close-up inside....


Here is another inside. Notice the border? This quilt makes a lot of waste. I took all the waste and sewed them together and made new fabric. Then cut that into borders and joined it any-which-way. I love the effect. Nothing went to waste.


A close up of the border...

I am dying to work on this circle quilt next..lots of circles. you can even use you old blocks and circle them. That will be coming up next.

Thursday, February 23, 2006

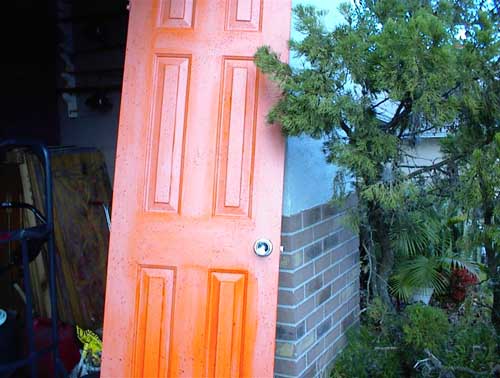
Hubby and I hung the door this morning. Here is a pic of the door in contrast to the floor which I also painted 2 years ago...hahahha I know it takes time to get in the mood. lol

Wednesday, February 22, 2006

Glazing The Door

I use about 1 cup of commercial glaze (faux finish at home depot) and added just enough orange acrylic paint to get a tint. I then brushed it on the door in the same sequence as when I painted it. I let it dry about 20 minutes (while I glazed the door frame). I then mixed some burgundy acrylic with water to ink consistency and fly specked (dip the brush in mixture and flick the brush to get off excess paint and then flek on door) the entire door. Then the same with burnt sienna. Let dry, hang tomorrow...


Close up of fly specks...


Update on Triangle tango...this is the right side so far.


Close up of the top. I have no clue where the rest of the stuff goes hahahhaha...oh I'll go back to it soon and figure it out. I believe the other side is done the opposite so that there is no point. In other word, where the point is here at the bottom, it switches to the top on the other side and the shoulder becomes the bottom. So you have one chopped off side and one pointed side. It says to start in the back. I can't do that. So here is one front, now I'll knit another one just like it and make that one the back left. Then instead of following the instruction for the other side. I'll just repeat this same side only reversing (mirror image) and make two of those..One front and one back. Then figure out the sleeves..oh lord, these instructions are from hunger hahhahaha....

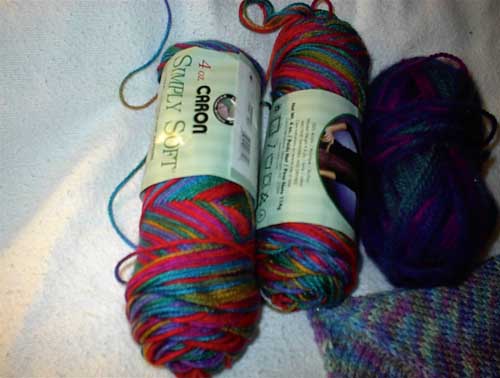
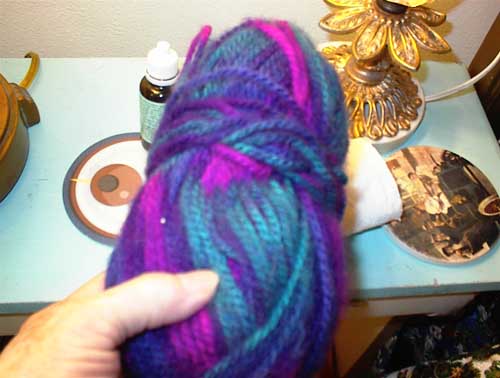
I found this real hot yarn at Joann's ...on sale, 2.19 I think. it's called crayon.


And that dark one besides the crayon ..here is a better pic...

Tuesday, February 21, 2006

Glazed Door

So you want to make a pretty door? here are some easy steps into that little venture. First get the retired hubby to help you take the door down. Well it's just two pins really. De-dust and sandpaper roughly, just a lick and a promise. De-dust again. I mixed sort of a flesh color (americana bottled acrylics). I added some sealer to the paint and started painting the six pannels in the middle of the door first. It's important to go with the grain of the wood. Just slush the paint on quickly into all the crevices (with the 1.00 brush from Michaels) and then lightly blend the paint with brush with the grain. Some of the paint will get outside the pannels, just go ahead lightly bush that paint with the grain. Here is the door with the pannels painted. Make sure to pick off the few hairs that fall from the cheap brush lol.


Here is the door all basecoated. Now while that is drying in the sun (most beautiful sunny day in Longwood Fl today, I'm in front of the garage). I went inside and basecoated the door frame and baseboards, oh this is in my shower, a real small deal. Now back outside and I applied the second coat to the door the same way as the first coat. I always put on two nice coats.


Doesn't it look pretty? it won't be that color once the glaze goes on though.

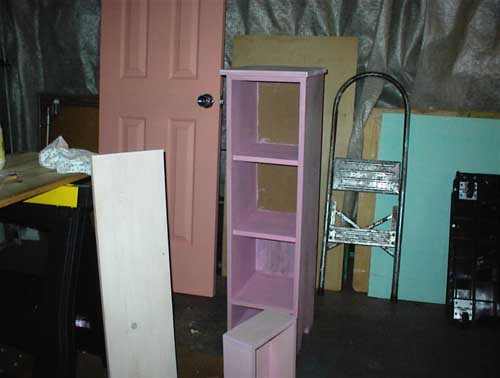
While I was in the painting mood and needing a little cupboard to put my yarn in and I have just the place for it in my bedroom. Well one of my bedrooms. Hubby and I sleep in all the rooms lol. One is for winter and one for summer. I took some white-lightning (sealer for decorative art, also one can do a pickled look with it). I added some burgundy to it to get a color that I call a ho pink (for lack of a better word lol). I sealed the entire cupboard with it. The little cupboard is custome made out of pine, has three shelves and a little drawer, real cute.

The door and the top of the cupboard I just put the plain white lightning ...as the door will have scene on it. Now the all these will cure for 24 hours. At which time I will glaze the door and put the basecoat on the outside of the little cupboard, which will be a wine color. In the inside back of the cupboard I will glue victorian calendar pictures later. I will post pictures as I do more to the projects.

Friday, February 17, 2006

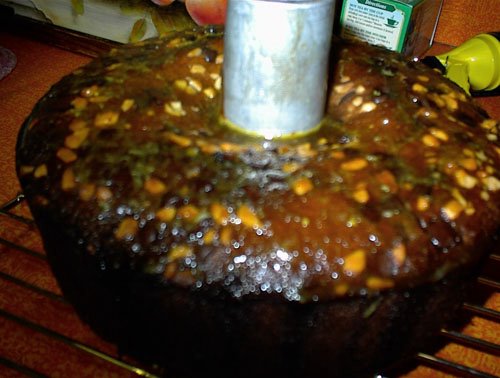
My Orange Cake. All the oranges in my yard were calling for an orange cake and I've been thinking about it so much lately so last night it happened. Now I have to totally control and ration myself.

3 sticks of butter, 1 box of brown suger (1pound), 6 eggs, 1 1/2 cup of fresh orange juice, 3 tabl of orange rind, 3 cups of sifted flour, 3 tabl of cointreau. 1 cup of orange juice and about 1 cup of chocolate chips/macadamia nuts mix. Also 1 cup of brown sugar extra for the sauce, 3 tbl cointreau.

Beat the suger and butter until kinda soft. Then keep adding the orange juice and beating until it's fluffy. Add the eggs, two at a time and beat slightly. Add the sifted flour and fold in, add grated rind and cointreau. Add the chips and fold in. Drop some chips all over the cake. Bake at 350 for 1 hour or until done. I used an angel pan and line the bottom with wax paper and covered the top of the cake with foil loosely. Meanwhile cook the the rest of the brown suger and juice for 5 minutes, add the cointreau. After cake has cooled a bit, poke holes in the top and pour the sauce. Let it rest a bit. Turn the cake onto a plate and pour the other half of the sauce on the bottom, which will be the top of the cake. the cake comes out sorta like a pudding cake. Delicious!! This shows the top of the cake before I turned it over and still on the middle of the tube pan. After pouring the sauce on the bottom, you turn it back to this side. I didn't bother.

Tuesday, February 07, 2006

Since I missed so many days I thought I'd better post some more right away. I don't know what's happening with my post but when I came back tonight my whole post was missing. It's a good thing I had save it as a draft too and was able to publish it again...all those pictures hmmmm....

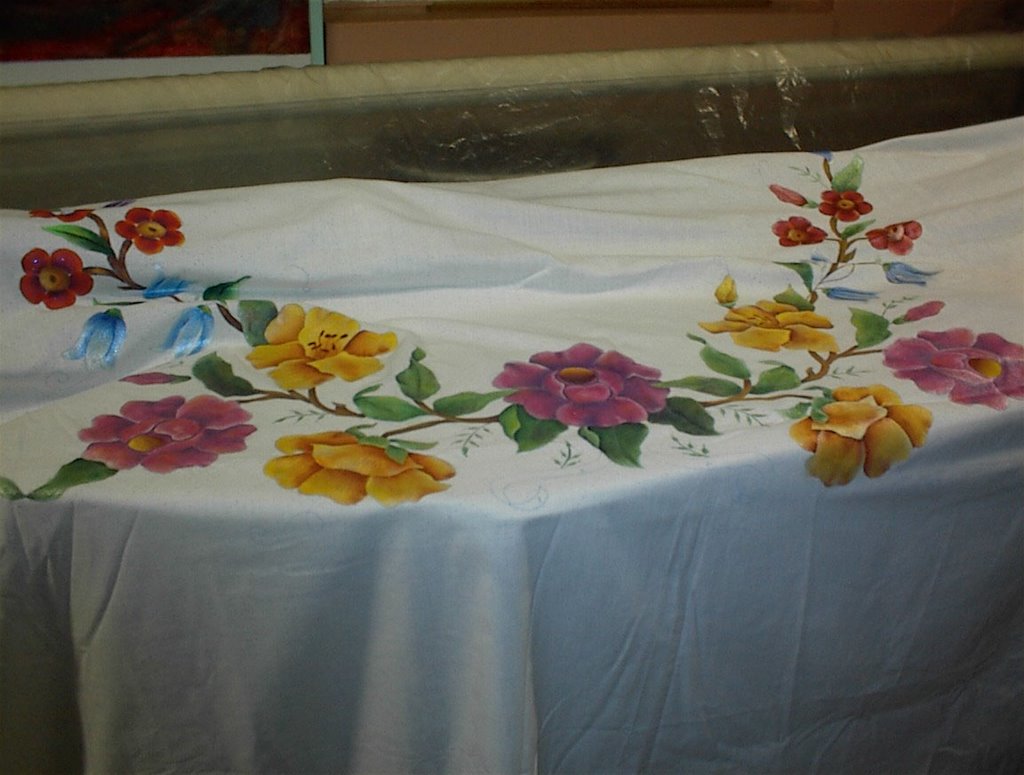
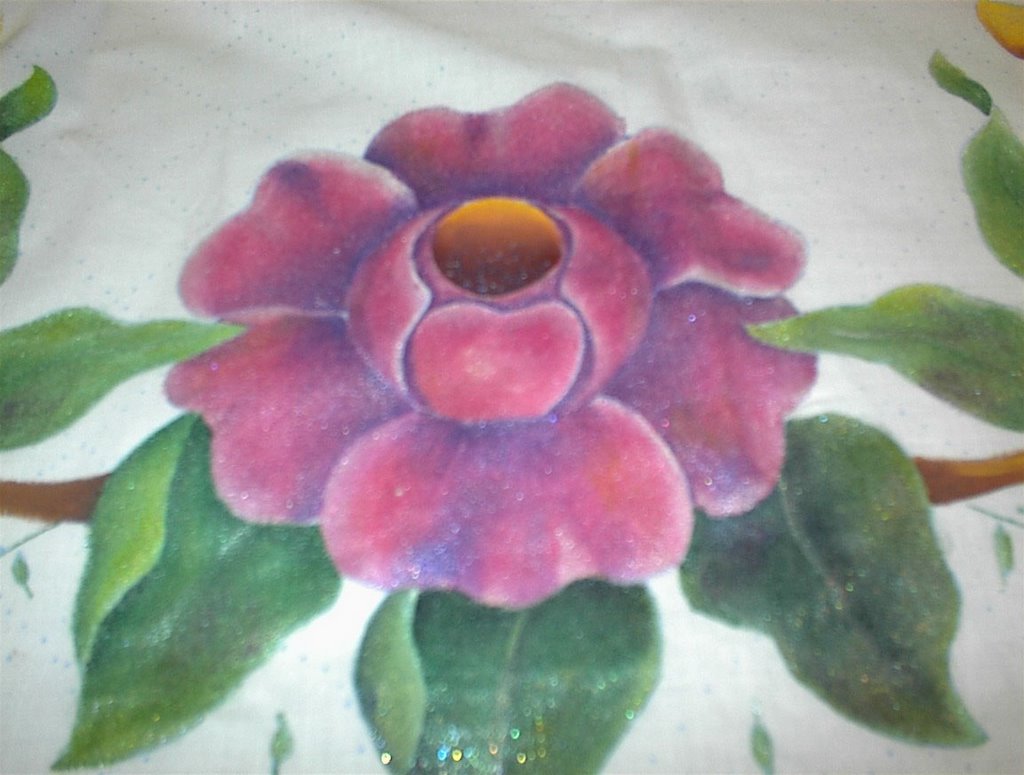
Well anyway, I decided to take a break from those clams and clean out my bins while looking for more colorways for my clam quilt. I threw out a lot of junk, organized the bins. I now know where everything is again lol. I found some real cool stuff. Remember when you could buy a bed spread or table cloth to embroider? Well a friend had bought several kits and gave me one years ago. Well I figured I wasn't going to do all that stitching so I began to paint it. It is 85% done. I must finish it and quilt it in a verigated thread. It will be lovely....


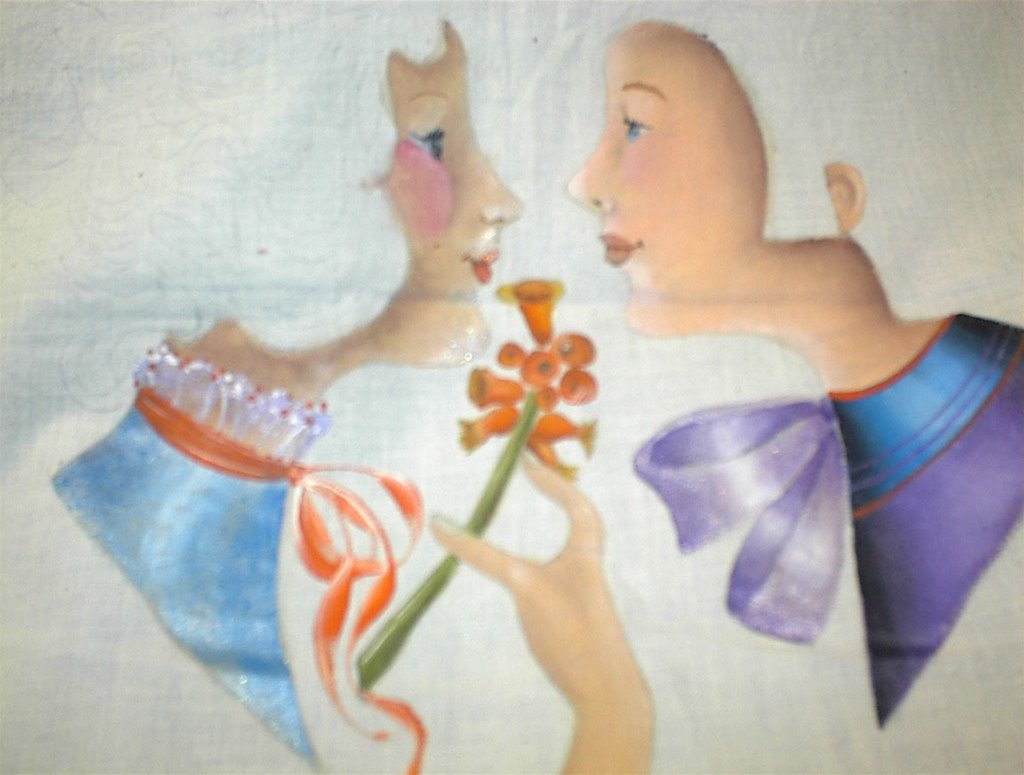
Then I found some painted quilt blocks...here is a victorian boy...


A folk art couple...just need to finish the hair.


And lots of odds and ends blocks. I will put all the odd blocks together and make a wierd quilt...here is attic windows...all done on the machine.

Monday, February 06, 2006

Ohhhh I have been so involved with my purchases from my gift cards. I have burned out three of them at 250.00 a crack. Boy! was that fun hahhahahah. I ordered several knitting books and have been reading those and some quilting books and this very neat software (e-bay) that can take any picture and make it banner size if you want ...that has yet to arrive. Well one the books was a "Kaffe Fassett"..I love him..he is coloratic like me. Well he had this Clamshell quilt in his book (K.F. Museum Quilts). He has a copy of the muesum quilt and one he made with his fabric line (georgous) except for the workmanship. I know it's a difficult quilt to make and he must have been on a timeline for the book and he must have had someone make it...oh I'm rambling.


Anyway, I don't think I have ever seen the Clamshell done machine wise. I would never touch it...too much hand sewing. Well I kept going back to that quilt. There must be a way says I. Needless to say, I went to bed at 5 am. I did three work-ups. On the sewing machine of course, I used the template in the book first and it was a bear to get this far. I knew there was something wrong with the template but at that time in morning it didn't register.

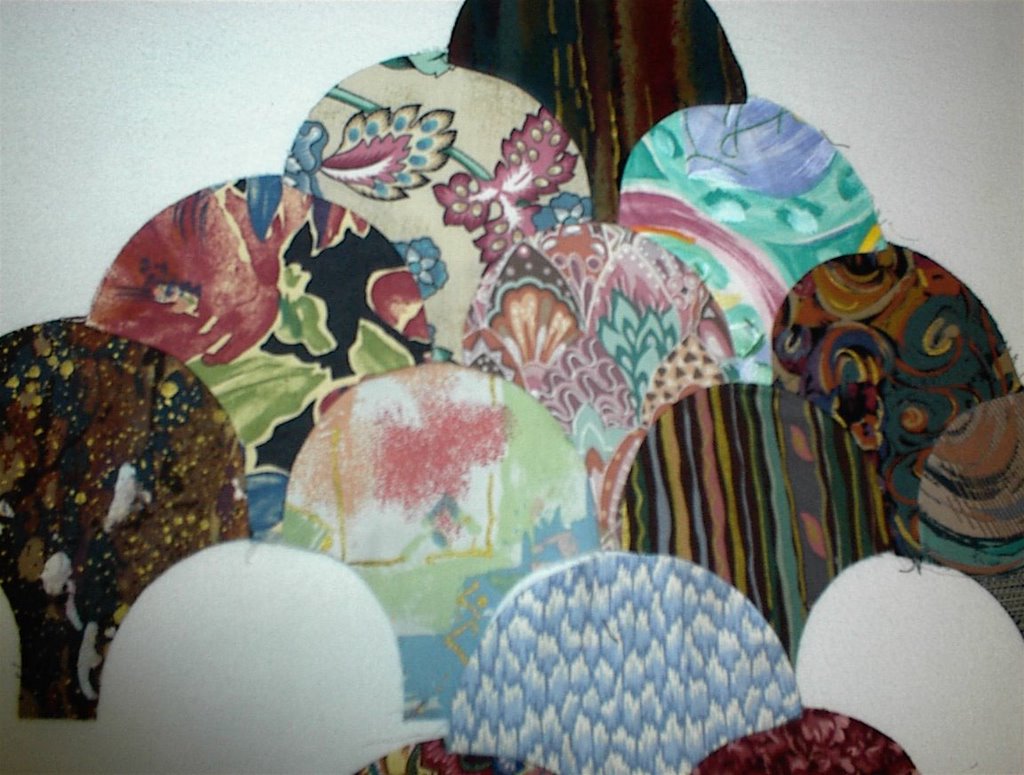
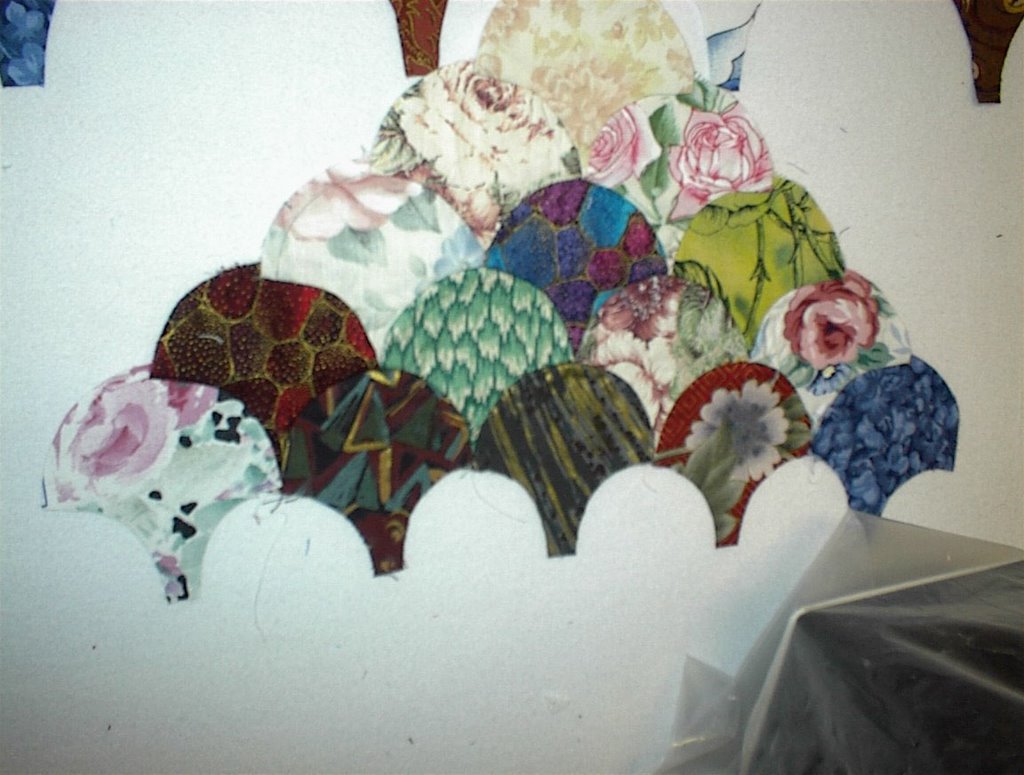
Ok, then I thought..there must be an easier way. I opened up Block Base in my computer and searched for clamshells. I found two. Ahhhh, you can print them any size, now that's the ticket! The bigger the better? I did the one where you can see the tail of the previous row extending down into the next row..sorta like when you have a space between your front teeth?


Then I did the other one and this one has a pointed tail, like the one in the book. By this time I really had the hang of it and found the error on the original template. The seam allowance needed to be extended another 1/8 of an inch...picky, picky but it makes a difference. Mind you, all this on the sewing machine. I am so impressed with myself, I hug myself lol. In order to succeed with this pattern ..one has to have a lot of patience..but after sewing 35 of them together, I find it's is very doable. Now I dont' know which one I like the best...help!!!


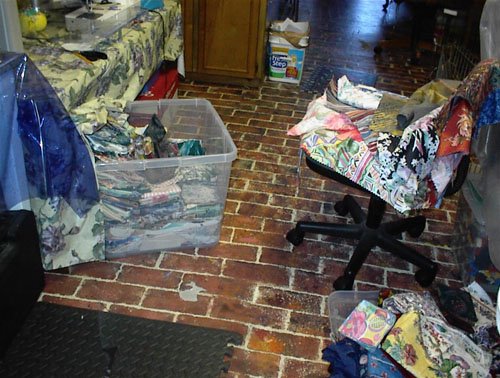
There is fabric everywhere....these are decorative samples from the home decorating line. I have at least three bins worth..they are great for when I need to practice on blocks before going to my stash. ..never- the - less...these still turn into beautiful quilts. I waste nothing.


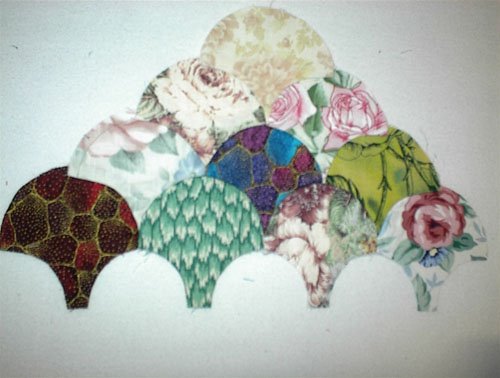
Then I went back to the orginal small clam and added another row with the new template and it went a lot easier.

The clam shell are made in a diamond shape and there are 49 clams (the original small size) in each diamond. I see he has about 6 diamonds and the half ones for the sides and tri's...oh boy!! but if I do the big ones? well let me poll you. Which one do you like the best. Which one looks the best or shows off the design the best. I also just read in the book that he and a student worked on it it and she did a great job of ironing out the kinks lol...he said it wasn't quilter quality....it looks good if you didn't look too close. I think the student did well for a quilt like this.

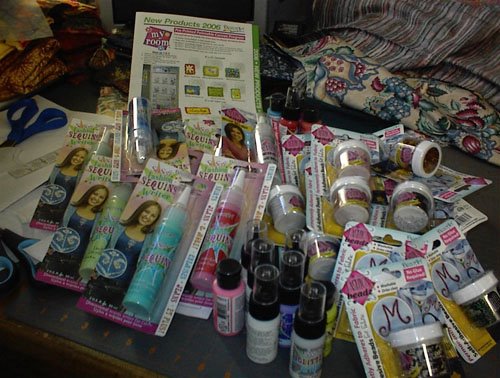
To top the day off ...Deco American sent me a huge box of all the latest fabric craze stuff...fashion beads, writers, new paint ..all fabric related (I'm still one of their helping artists)...I get to try all the new stuff. I will definately do something fun with them soon.